Words & photos - John Lymer
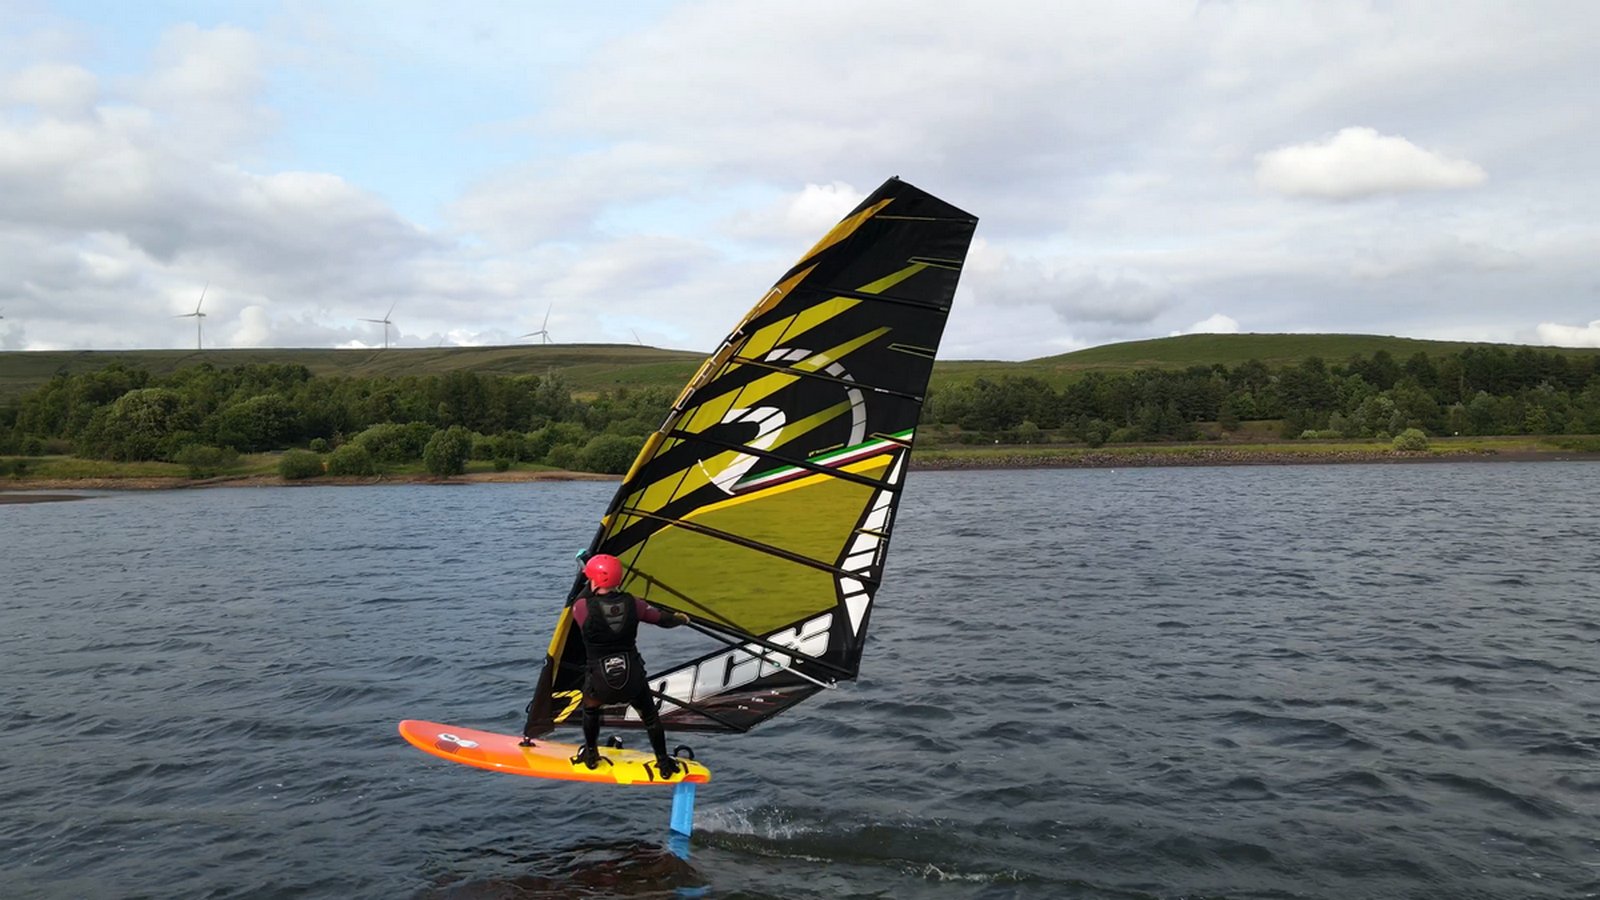
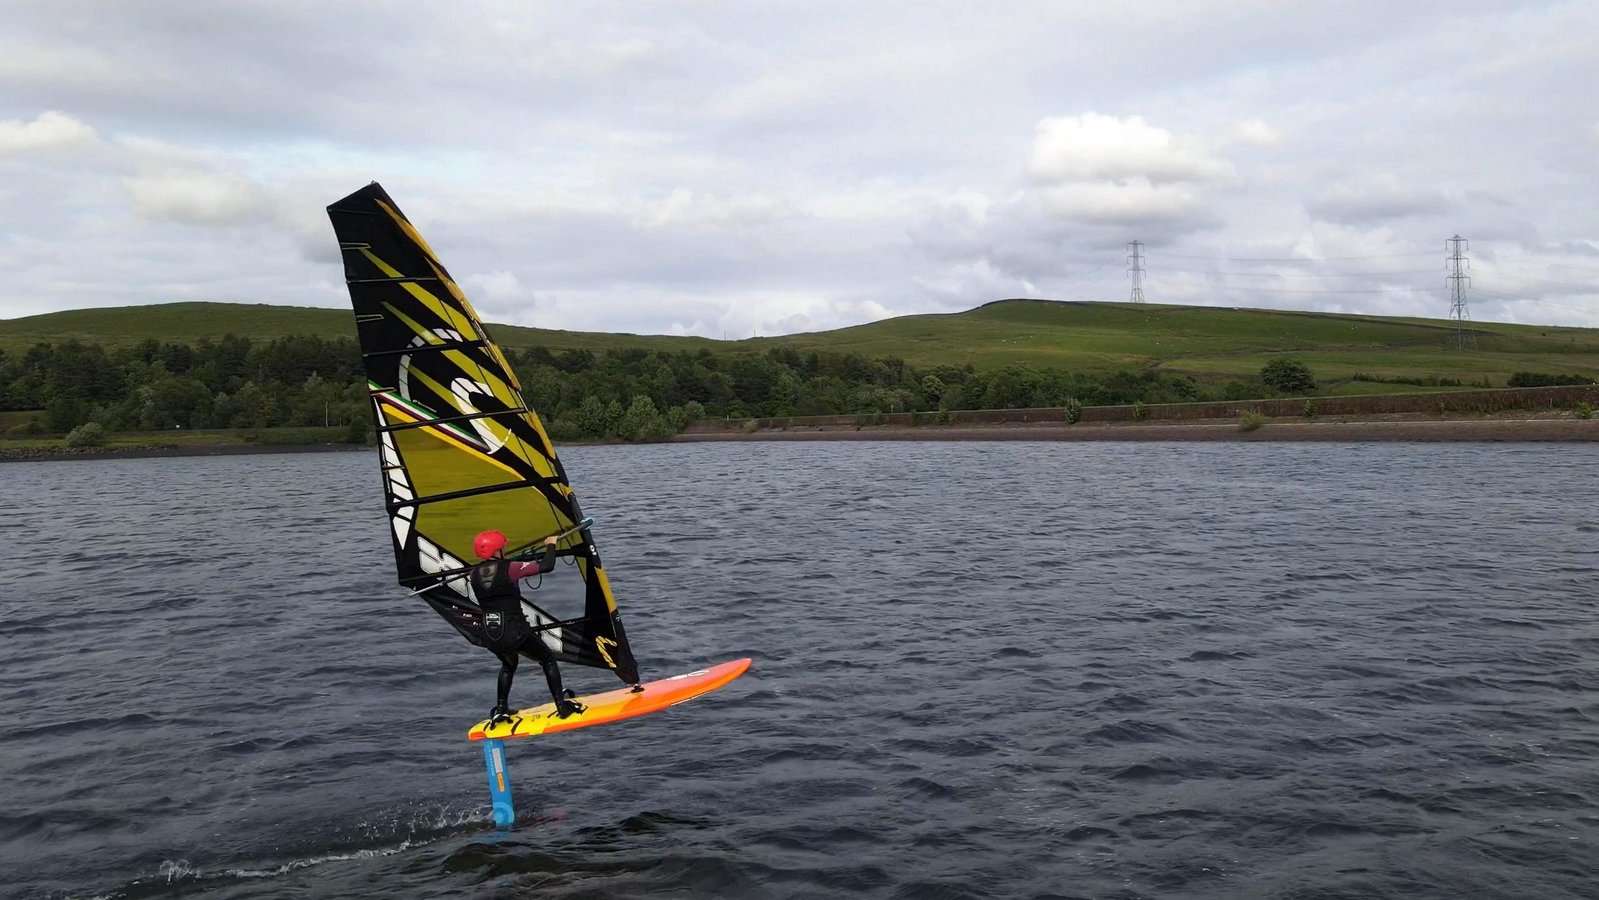
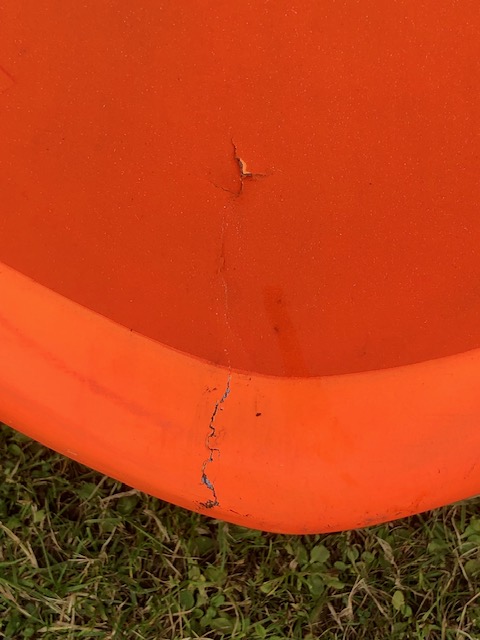
I recently bought a smart new dual purpose windsurf and windfoil board ... then managed to damage it on its first outing! I used 2 part epoxy to fix that damage on the rail, then sanded it before painting some new graphics on the affected area because I can't get the right matt fluorescent orange paint. Not a great situation for a brand new board, but hey ho! A few months on and the mast fell on the nose. This time it punctured the skin and caused a crack along the board and in the gel coat. It seems boards aren't as robust as we'd like them to be! This article shows how I repaired the damaged nose.
I found this video useful and it gave me the confidence to have a go at a proper repair, rather than a possible simple bodge job. I also sought advice from committee member, Tim Ordway. Tim has had a lot of experience with fibre-glass/carbon-fibre and similar repairs, mostly to vehicles. If you don't know Tim, he's the one who usually arrives in distinctive/unconventional vehicles! Tim advised me precisely what products to buy, where from and how to go about some elements of the task.
I bought the following, online, from East Coast Fibreglass Supplies:
- 160g plain weave carbon-fibre cloth
- 6oz glass-fibre cloth (surfboard cloth)
- peel ply fabric
- West system epoxy resin
- acetone (for cleaning brushes)
With brushes, gloves, sandpaper and sanding pads the final bill was £113. I wonder how much a professional repair costs? The resin alone cost £40 and I ordered too much carbon-fibre and peel ply, so I have enough materials for quite a few repairs. I hope I never need them! The board was only out of action for a few days - much less than if I'd sent it away to have the work done. The work probably took more than 10 hours. Fine if, like me, you're retired. Maybe too much if you're working.
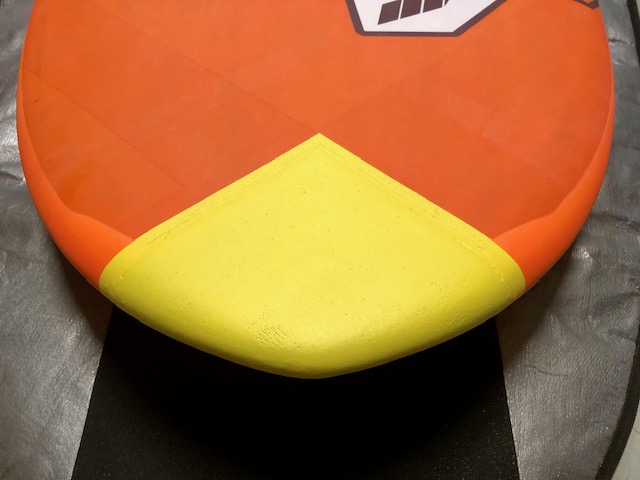
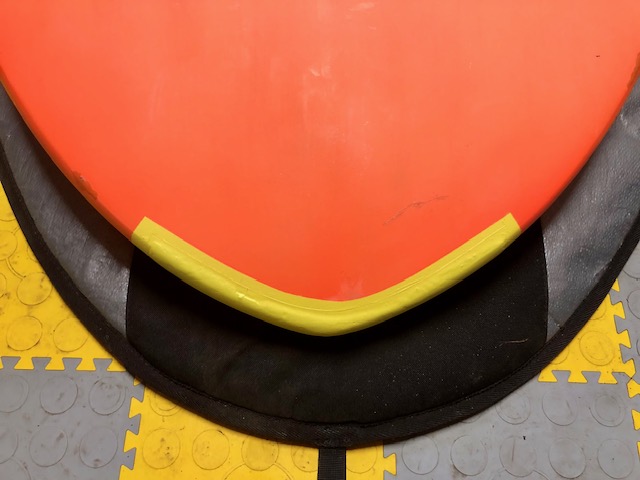
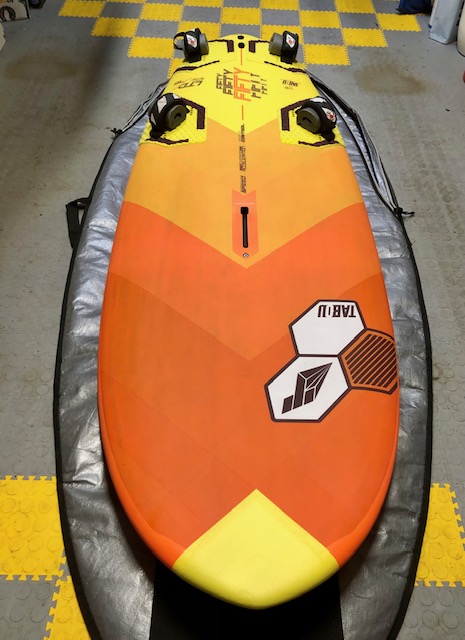
I opted for a wrap-over repair as I didn't want to do anything as drastic as cut away some of the board deck to achieve a flush finish and should end up with a board that is stronger than when new. I chose to mirror the vee shaped graphics at the rear of the board. I can't get matching orange paint so wanted to make a feature out of the repair, rather than blending it in. It would be painted yellow.
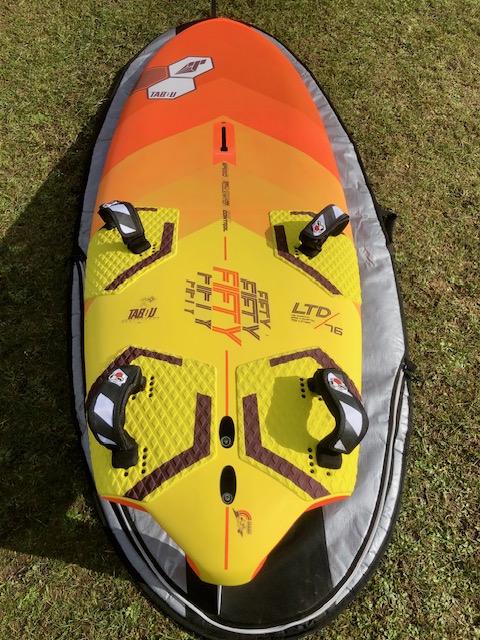
I marked the area off with masking tape.
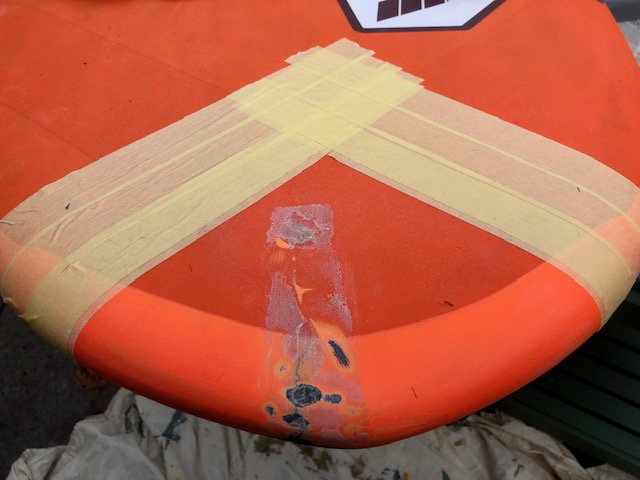
A paper template was created before cutting out the carbon fibre cloth. This overlapped onto the masking tape as recommended in the video.
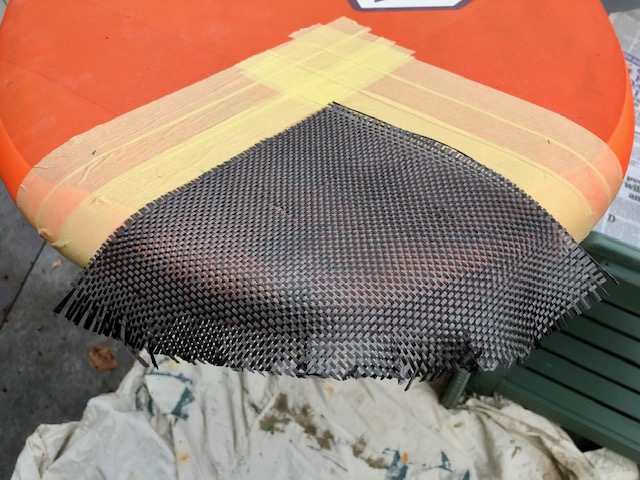
Next, it's time to mix the 2 part resin in the smallest quantity you can - I mixed far too much initially. This is painted on. Then cover the repair with the peel ply fabric and tape it in place as tightly as possible.
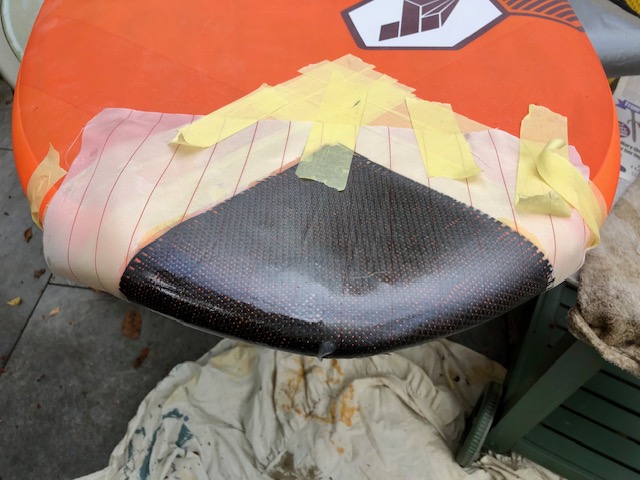
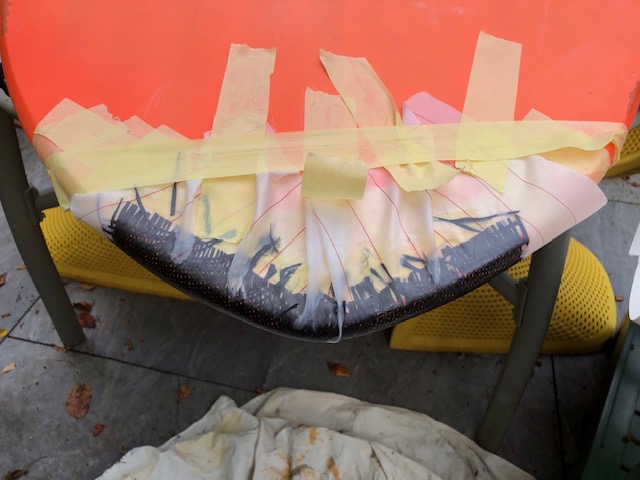
After about 2 hours at 20C it's time to peel off the peel ply. This fabric soaks up any surplus resin to leave a smooth, dry surface to the repair. I then trimmed the carbon fibre to the edge of the tape, removed some tape and re-applied it a few millimetres further away so I could apply the glassfibre over the carbon, extending a bit further out to hopefully achieve a smooth chamfer at the edge.
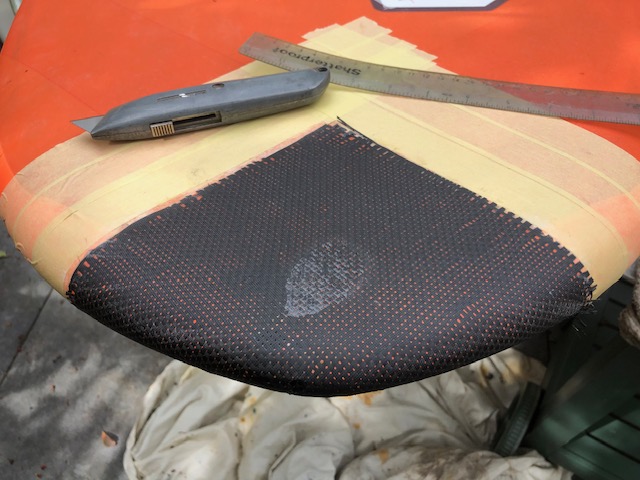
Here's the result after the glassfibre surfboard cloth has been applied, resin added as with the carbon fibre and peel ply used and then removed.
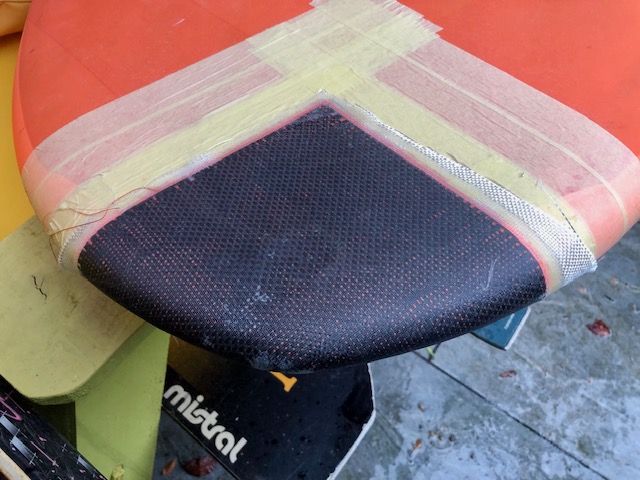
Then it was time to trim the edges, sand them smoother and apply a bit more resin to soak all the cloth at the edges. After that the whole repair was sanded lightly and the edges chamfered as neatly as possible. Repeated trimming of the edges with a stanley knife and reapplying tape was quite time-consuming.
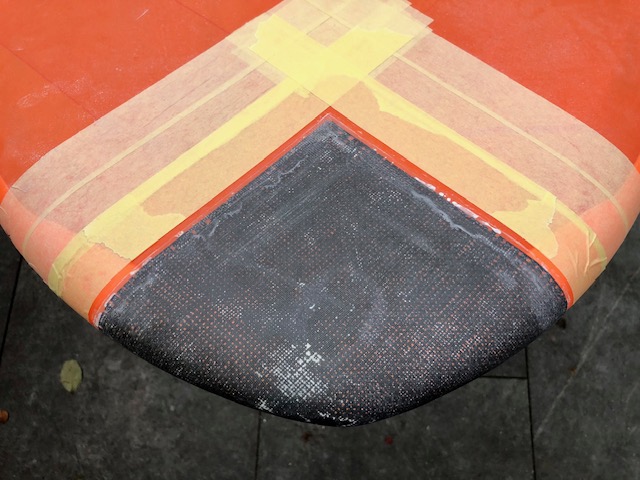
Now it's a final thin painting on of resin all over. No peel ply was used this time - Tim's advice was that this would achieve something of a gloss finish.
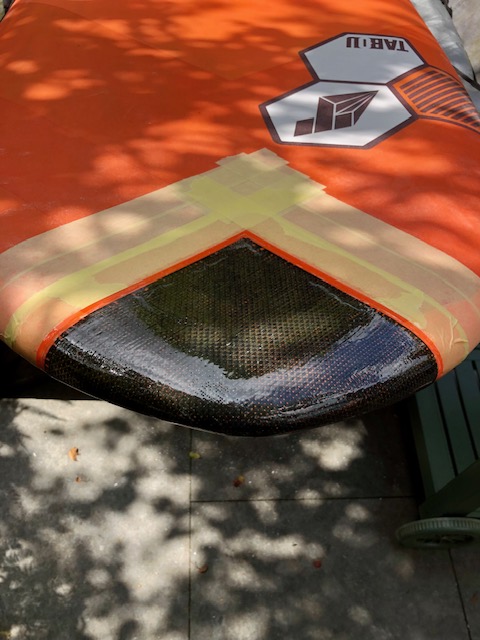
You could go for a raw carbon-fibre finish and call it job done at this stage. I wanted to paint it though.
After the resin was set I masked around the repair and applied the bling-tastic yellow paint! I can never have too much yellow. The paint was bought from Car Body Supplies, Whitworth Road, Rochdale. They'll match any colour if you take your board to them. The mast rubbed the nose gently during my next outing and that was enough to take off some of the paint. If there's a 'next time' I'll leave it raw! As I'd painted it yellow this time, I re-did the yellow paint and when that was dry I painted over it with fibreglass resin to protect it. I'll see how that lasts!
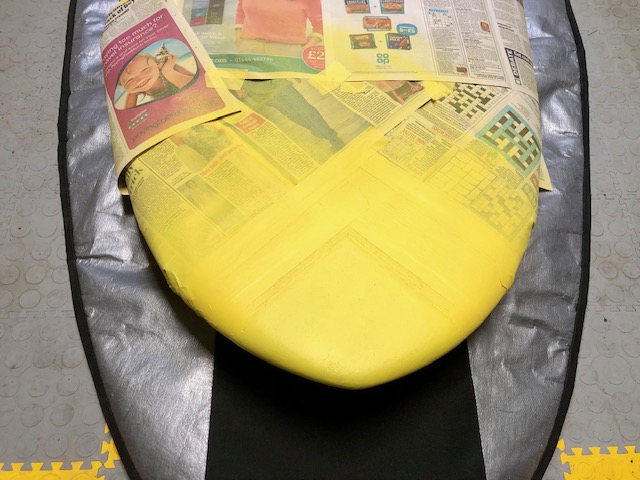
Now remove the masking to view the finished repair in all its glory!
Now it's play time again!
